Quick Start
Get your Smart-Reception template running in minutes.
A) If you already have an Assistant
1. Gather Your Vapi Credentials
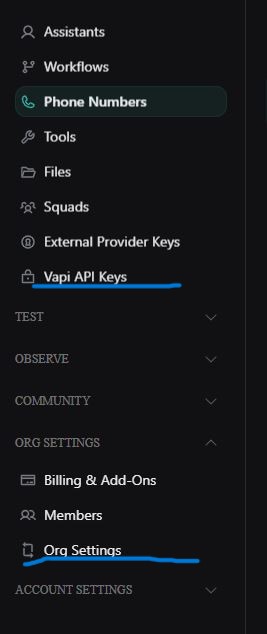
- Org ID: found under Vapi Dashboard → Org Settings (on the left panel) > Org Settings
- Private Key: found under Vapi Dashboard → Build (on the left panel) > Vapi API Keys generate or copy from the same screen
- Keep both values handy.
2. Configure Your Bubble App
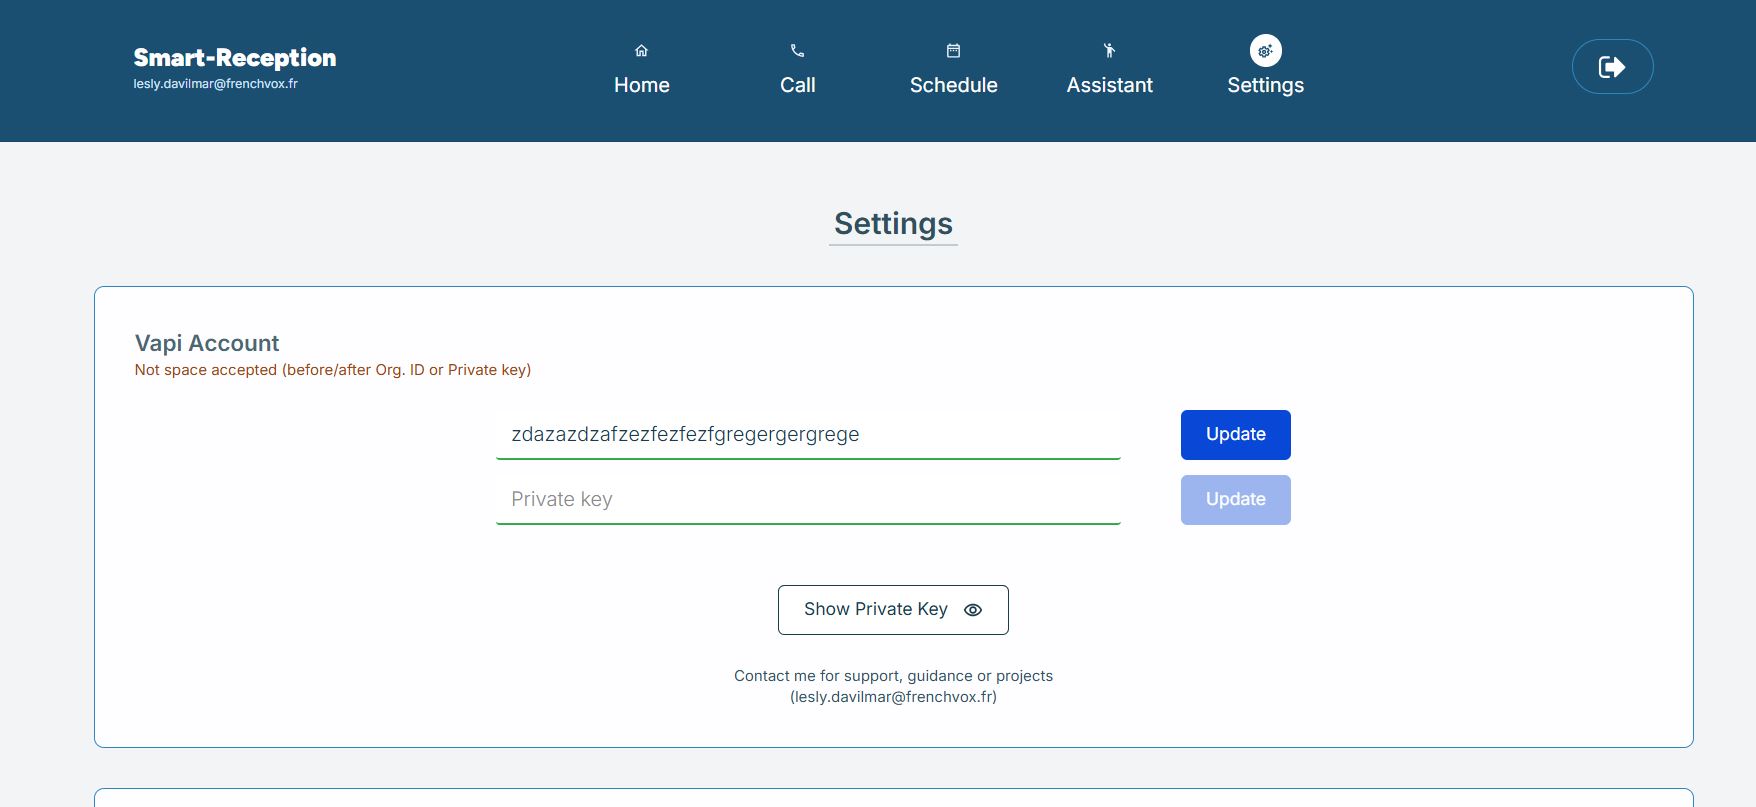
- Log in to your app account and go to Settings section → Vapi Account.
- Paste your Org ID and Private Key into the respective fields (section Settings) > Vapi Account.
- Save.
- Verify your Organization ID in the input field.
- Click on 'Show Private Key' button to verify the private key.
3. Set Your Assistant Webhook
-
On your Backend Workflow click on 'vapi_webhook'
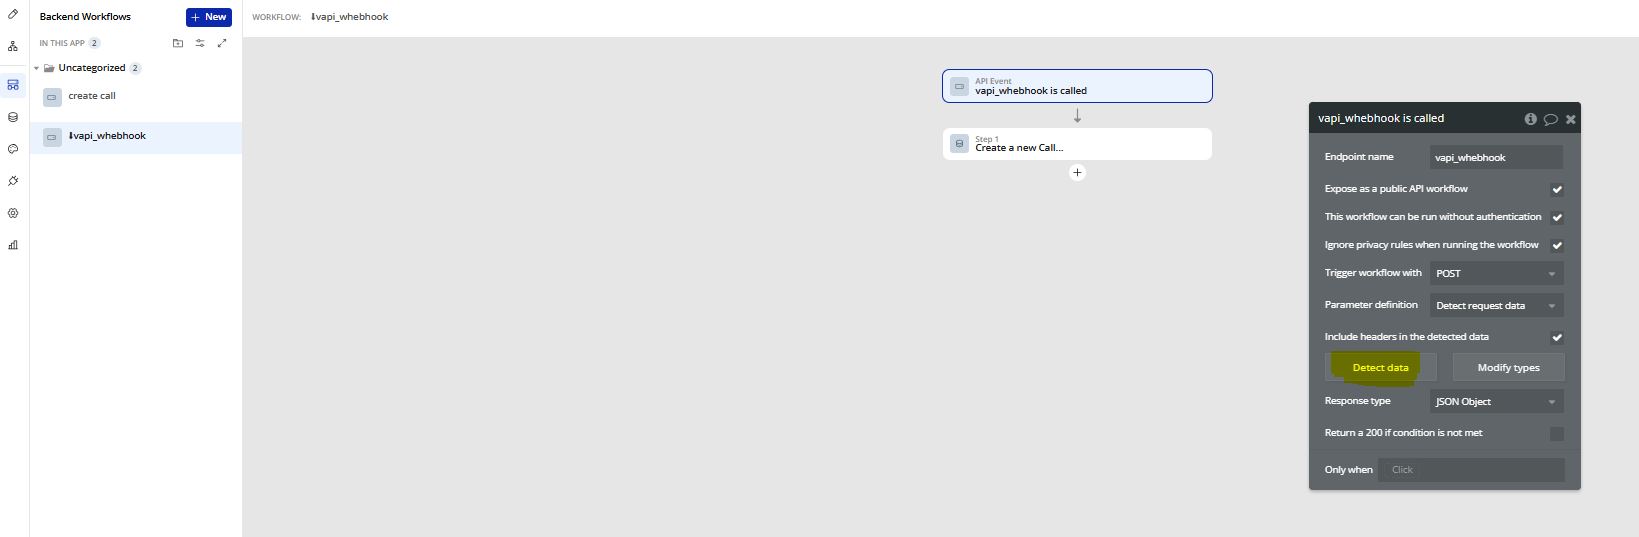
Then click on 'Detect Data'
-
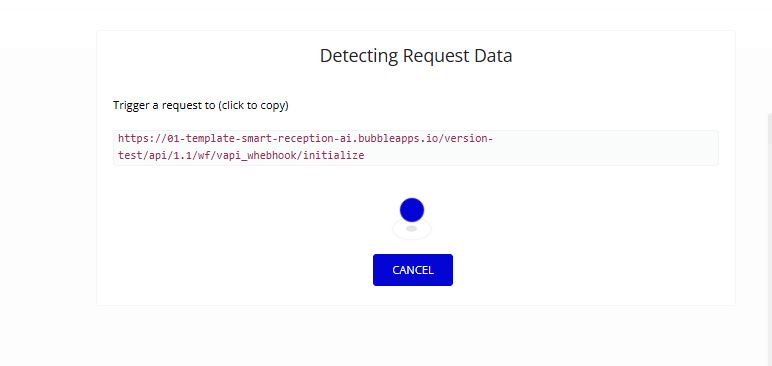
Copy adress URL
-
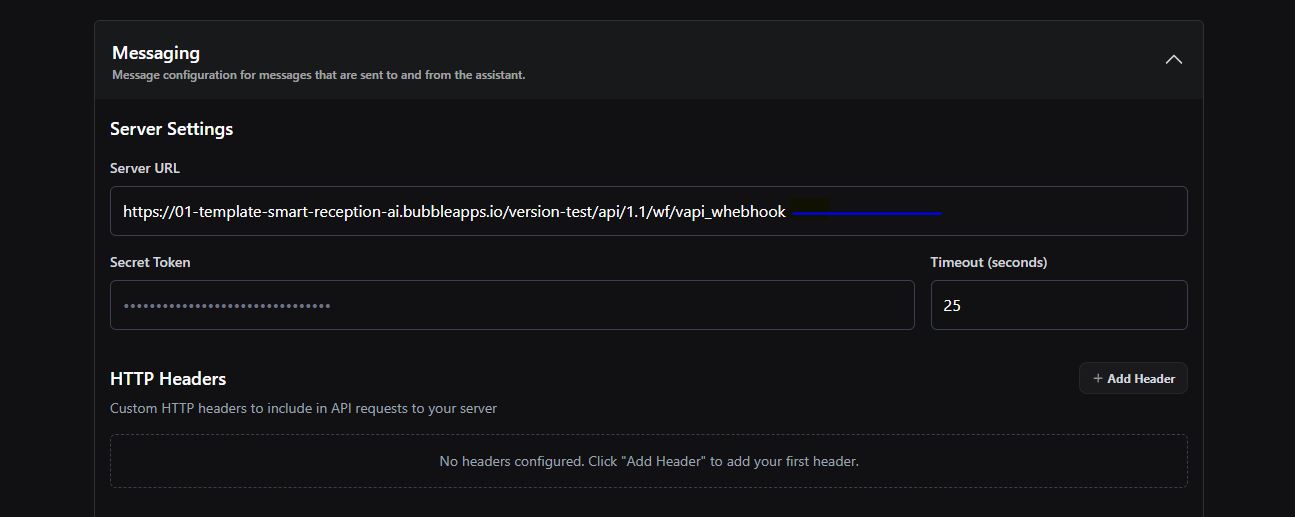
In the Vapi console under Assistants → [Your Assistant] → Advanced → Messaging → Server Settings → Server URL, paste your Bubble app's API workflow URL here (red on image):
- Linking your assistant to the Bubble webhook is like plugging your phone into the wall—it lets every call event flow instantly into your app. This real-time connection powers live logs, transcripts, and dashboards so you never miss a single ring.
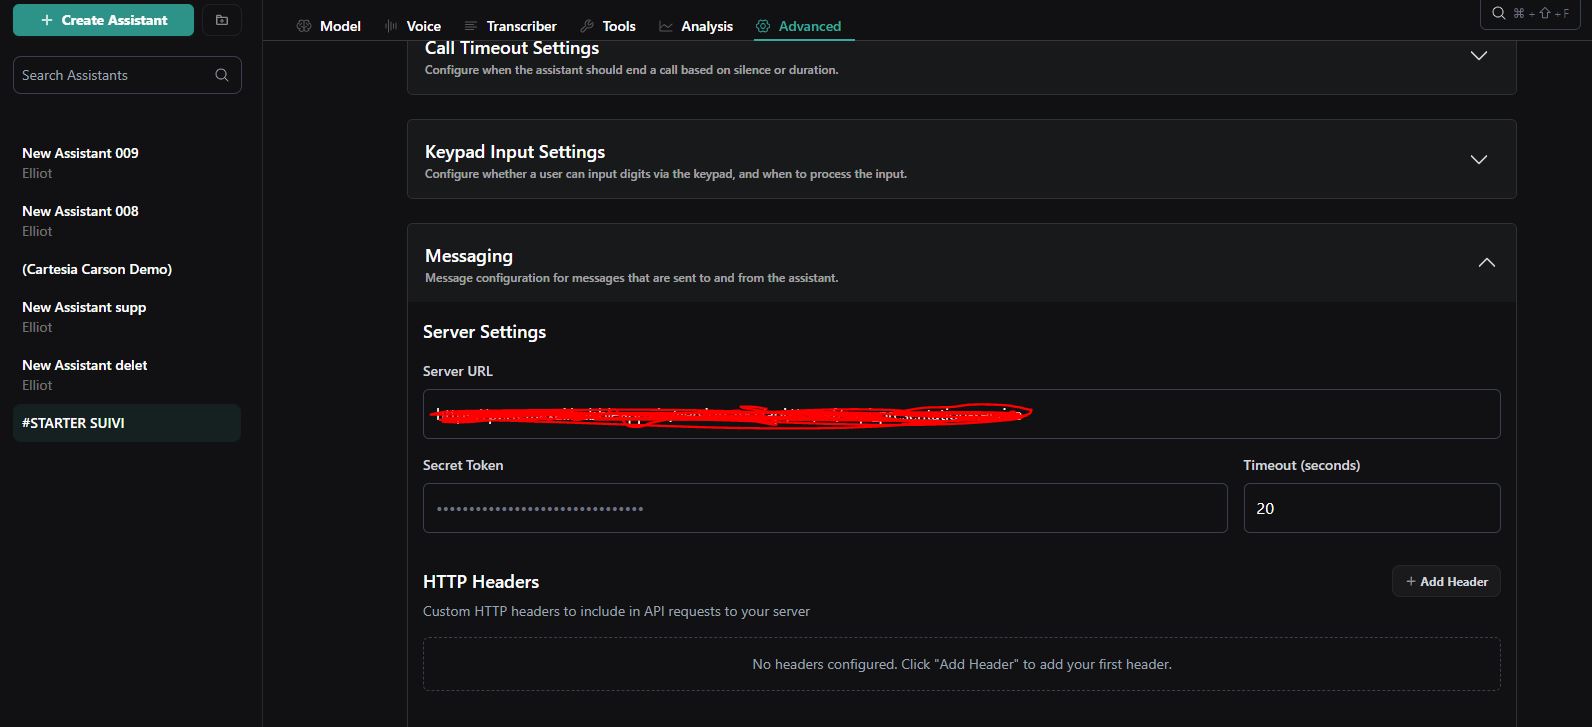
- This ensures every call event (start, utterance, end) posts back to your Bubble app.
A) If you don't yet have an Assistant
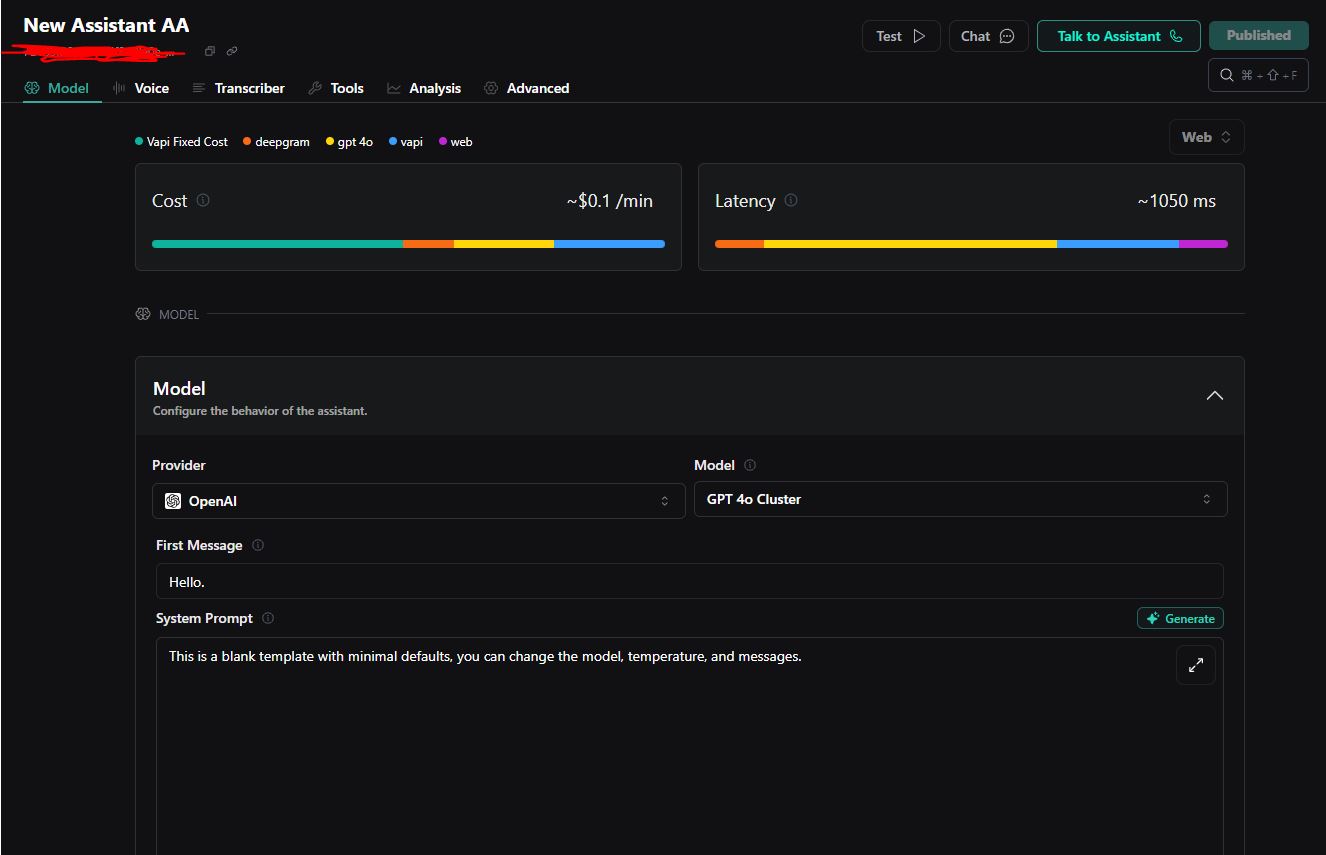
1. If you have no Assistant - Create Your First Assistant
- In Vapi: Assistants → Create Assistant

- Choose a voice model etc.
- Paste your Bubble app’s API workflow URL here.
- Linking your assistant to the Bubble webhook is like plugging your phone into the wall—it lets every call event flow instantly into your app. This real-time connection powers live logs, transcripts, and dashboards so you never miss a single ring.
- Save (click on 'Publish' at the top right) – it appears in Dashboard → Assistant.

2. Import or Bring Your Phone Number
- In Vapi: Phone Numbers → Create Phone Number (or BYO)
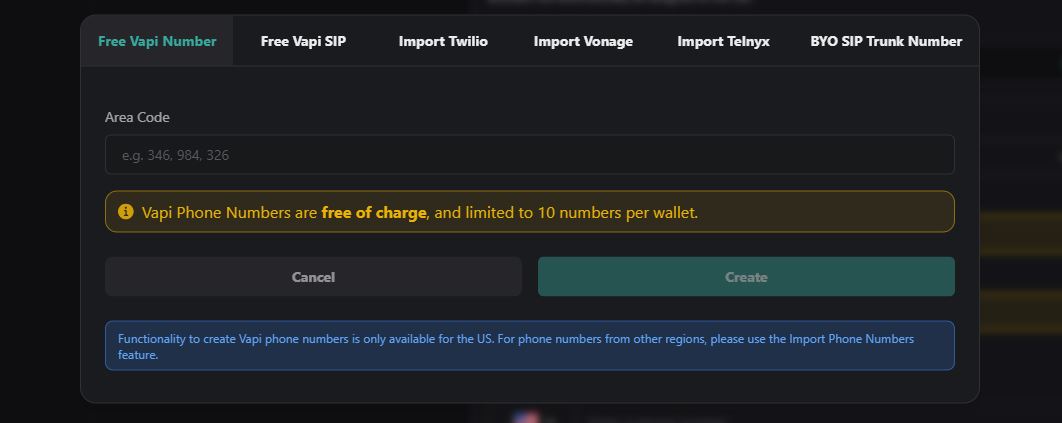
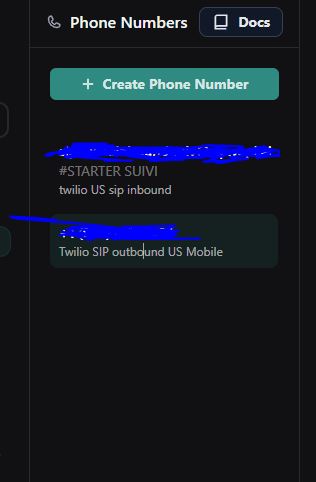
- You’ll see it under Home → Phone Numbers.
3. Now you have an Assistant with your webhook app URL attached and your phone number

4. Place a Test Call
- Go to Dashboard → Schedule
- Define your number to call (+(country code)(number)), and the others inputs.
- Click Call Now.
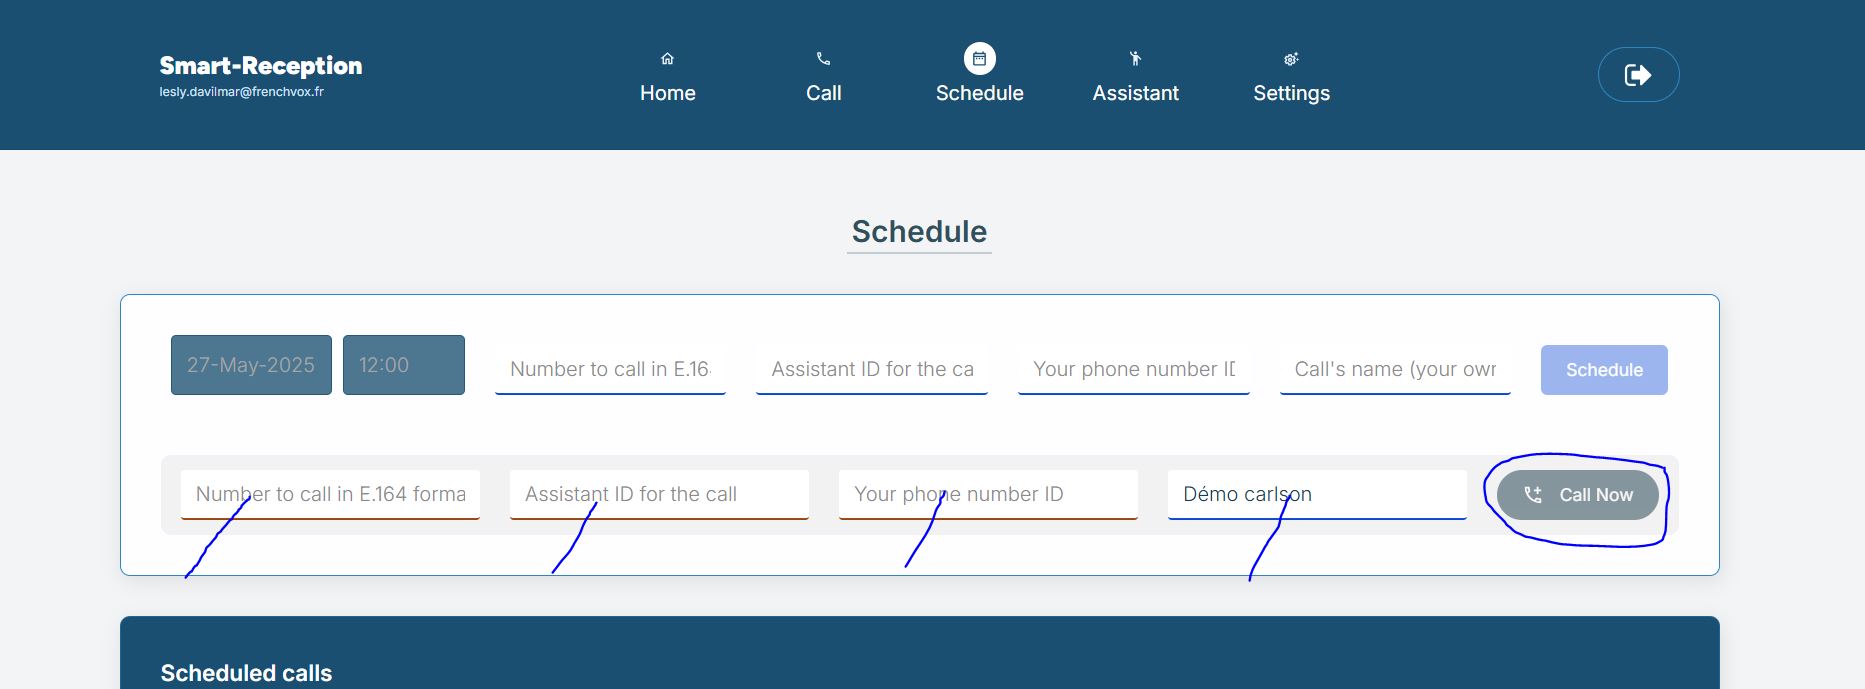
- Your call must be see in Section Call > Application Call.

- Very on your database (Data > App data > All Calls) you must see the call informations.
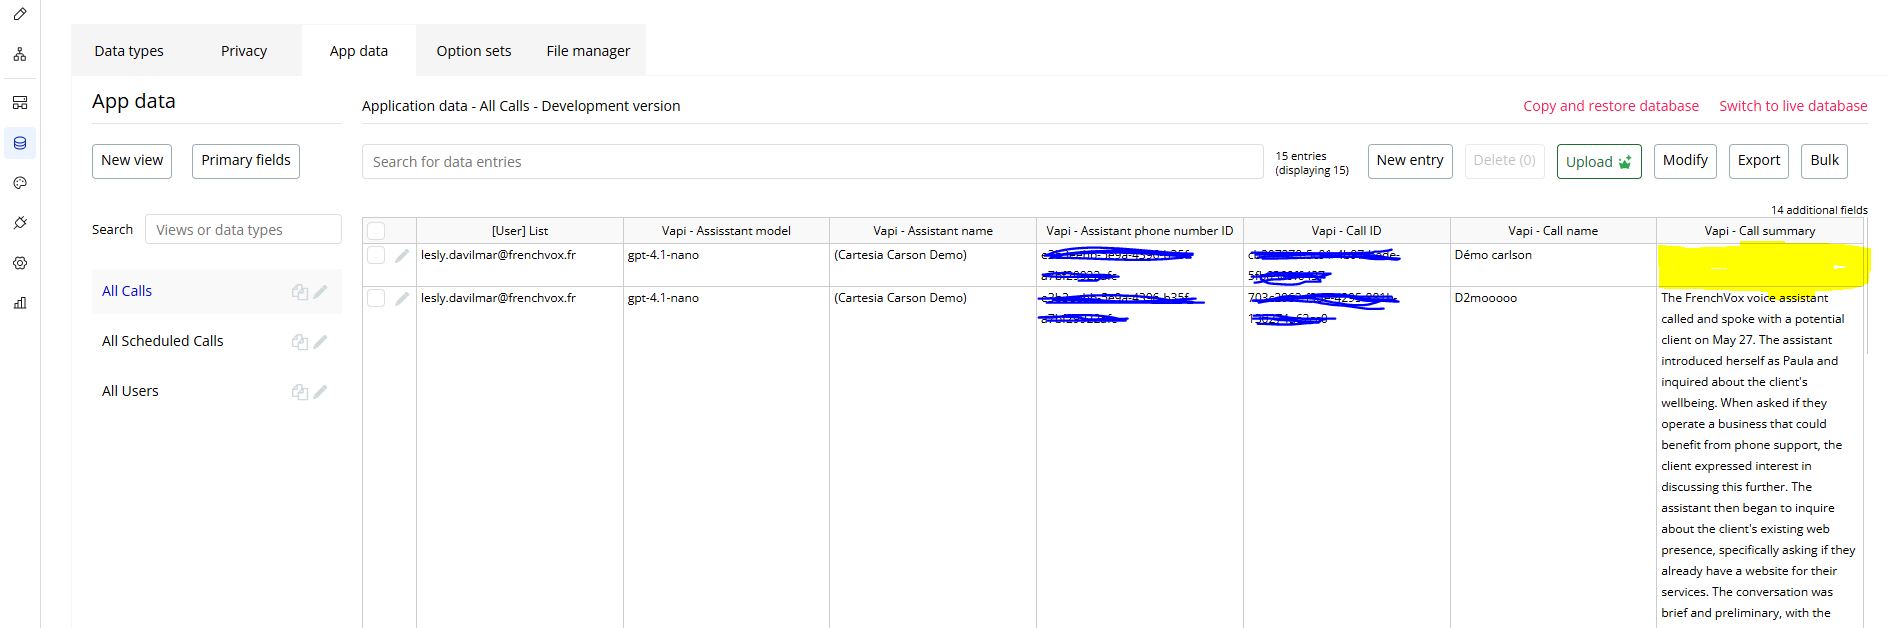
- ✅ Note: Very brief calls (under the minimum duration) will not generate a summary (yellow part in the image).
⚠️ Only when you can see the call informations in your database or your dashboard
Last Steps
- Go to your Vapi account and select the Assistant you passed your webhook url.
- Remove the initialise at the end of the URL > /initialize (strictly).
- Save (click on 'Publish' at the top right)
- Make a call to test.
- You’re all set! 😎
Need help?
If you run into any issues, please reach me out at lesly.davilmar@frenchvox.fr.